
How can I update my old pine furniture? A guide to upcycling orange pine.
If you’re staring at that orange-toned pine furniture in your home and wondering, "How can I update my old pine furniture?", you’re not alone! Many homes are filled with those dated pine dressers, bedsides, and tables that were once all the rage, but now look a little too rustic for modern tastes. The good news? With the right approach, your old pine furniture can be completely transformed into timeless, elegant pieces that fit seamlessly with a cottage-core aesthetic or even a more refined, classic interior style.
As someone who loves working with classic tones, a clean finish, and taking inspiration from the Cotswolds, I’m here to guide you through the process of upcycling that tired pine furniture. And if DIY isn't your thing, don’t worry—I can even do it for you!
Why upcycle orange furniture?
Pine furniture has the advantage of being solid, durable, and widely available. But over time, the bright orange hue it develops can clash with modern interior design trends. Upcycling allows you to:
Breathe new life into your furniture: Instead of getting rid of perfectly good, sturdy pieces, you can update them to match your current style.
Reduce waste: Upcycling is a sustainable way to reduce waste and prevent old furniture from ending up in the landfill.
Create a unique, personalized piece: No one else will have exactly the same furniture as you!
Step 1: Prep Work – The Key to a Professional Finish
The first step in any upcycling project is preparation. The orange pine will need to be sanded back to remove the old varnish, wax or lacquer and create a smooth surface ready for painting or staining. For a clean and elegant look, thorough prep is essential!
Start by cleaning the piece: Use a mild detergent to remove any grease or dirt. Sugar soap is a good cleaner or you can buy a stronger de-greaser if its really grubby.
Check if it is waxed - Pine can often have a wax finish. The way to tell if it is waxed, is by running your fingernail along the grain. If you get some residue lifting, its probably wax. If its varnished instead, you would need to strip/ sand to remove this prior to painting.
Sand it down: I would recommend working your way through the grits if you want a super smooth finish. You want to create a smooth surface but avoid gouging the wood.
Fill in any gaps or imperfections: If your pine furniture has any dings or scratches, now is the time to fill them with wood filler and sand it smooth.
Use a knot blocker/ stain blocker - If pine is knotty, the knots can have a tendency to come through with time, particularly with lighter paint colours. The only way to prevent this happening, is to use a knot blocking solution which you paint over the knots or to use a good quality shellac based stain blocker, like Zinsser Bin.
Step 2: Choosing the Right Finish
Here’s where you can transform your old orange pine into something stunning that fits with the elegant, classic tones of your home. For a ‘cottage-core’ inspired look, soft neutrals, off-whites, and muted greys work beautifully. I also love sage greens on farmhouse furniture as they remind me of nature and the countryside and feel like you are bringing a bit of the outdoors in.
Chalk Paint for a Matte Finish: Chalk paint is ideal if you’re aiming for a rustic, vintage look. It goes on smoothly and doesn’t require a primer (although I always recommend one for a long-lasting finish, aswell as a full sand down to get really good paint adhesion). A soft, dusky white or pale grey would be perfect for creating a piece that feels airy and refined. I personally prefer mineral paints, eggshells and acrylic based paints for the smooth elegant finishes. I am just not a ‘shabby chic’ type of painter, but I know some people do still like this style.
Milk Paint for an Antiqued Look: If you want a more worn, aged finish that screams “timeless,” milk paint is a wonderful option. It can be distressed to reveal some of the original wood underneath, adding character to your piece. Think about adding some soft pastel tones for a touch of Cotswold charm.
Stain for a Natural Wood Look: If you want to keep the natural grain of the pine but ditch the orange, staining is a great option. Choose a subtle oak or driftwood stain for a more contemporary look. I personally like the ‘whitewash’ look for pine wooden table tops, and matching sideboards etc. There are lots of lovely wood stains to choose from and topcoats you can add afterwards, to achieve the ultimate durabillity, alongside a contemporary look. Or you can simply do a paint wash to neutralise down the orange wood tones and give the table a much more modern feel. Green paint tones and taupe paint tones work well for a paint wash and help stop that orange tone coming back through if you were to just sand the piece and then varnish.
Step 3: The Transformation – My Before and Afters
One of my favourite parts of the upcycling process is seeing the transformation from old and dated to fresh and elegant. Here are a couple of examples of pieces I’ve worked on recently. They were lovely solid pieces of furniture that had just gone too orangey and looked too dated for my client.
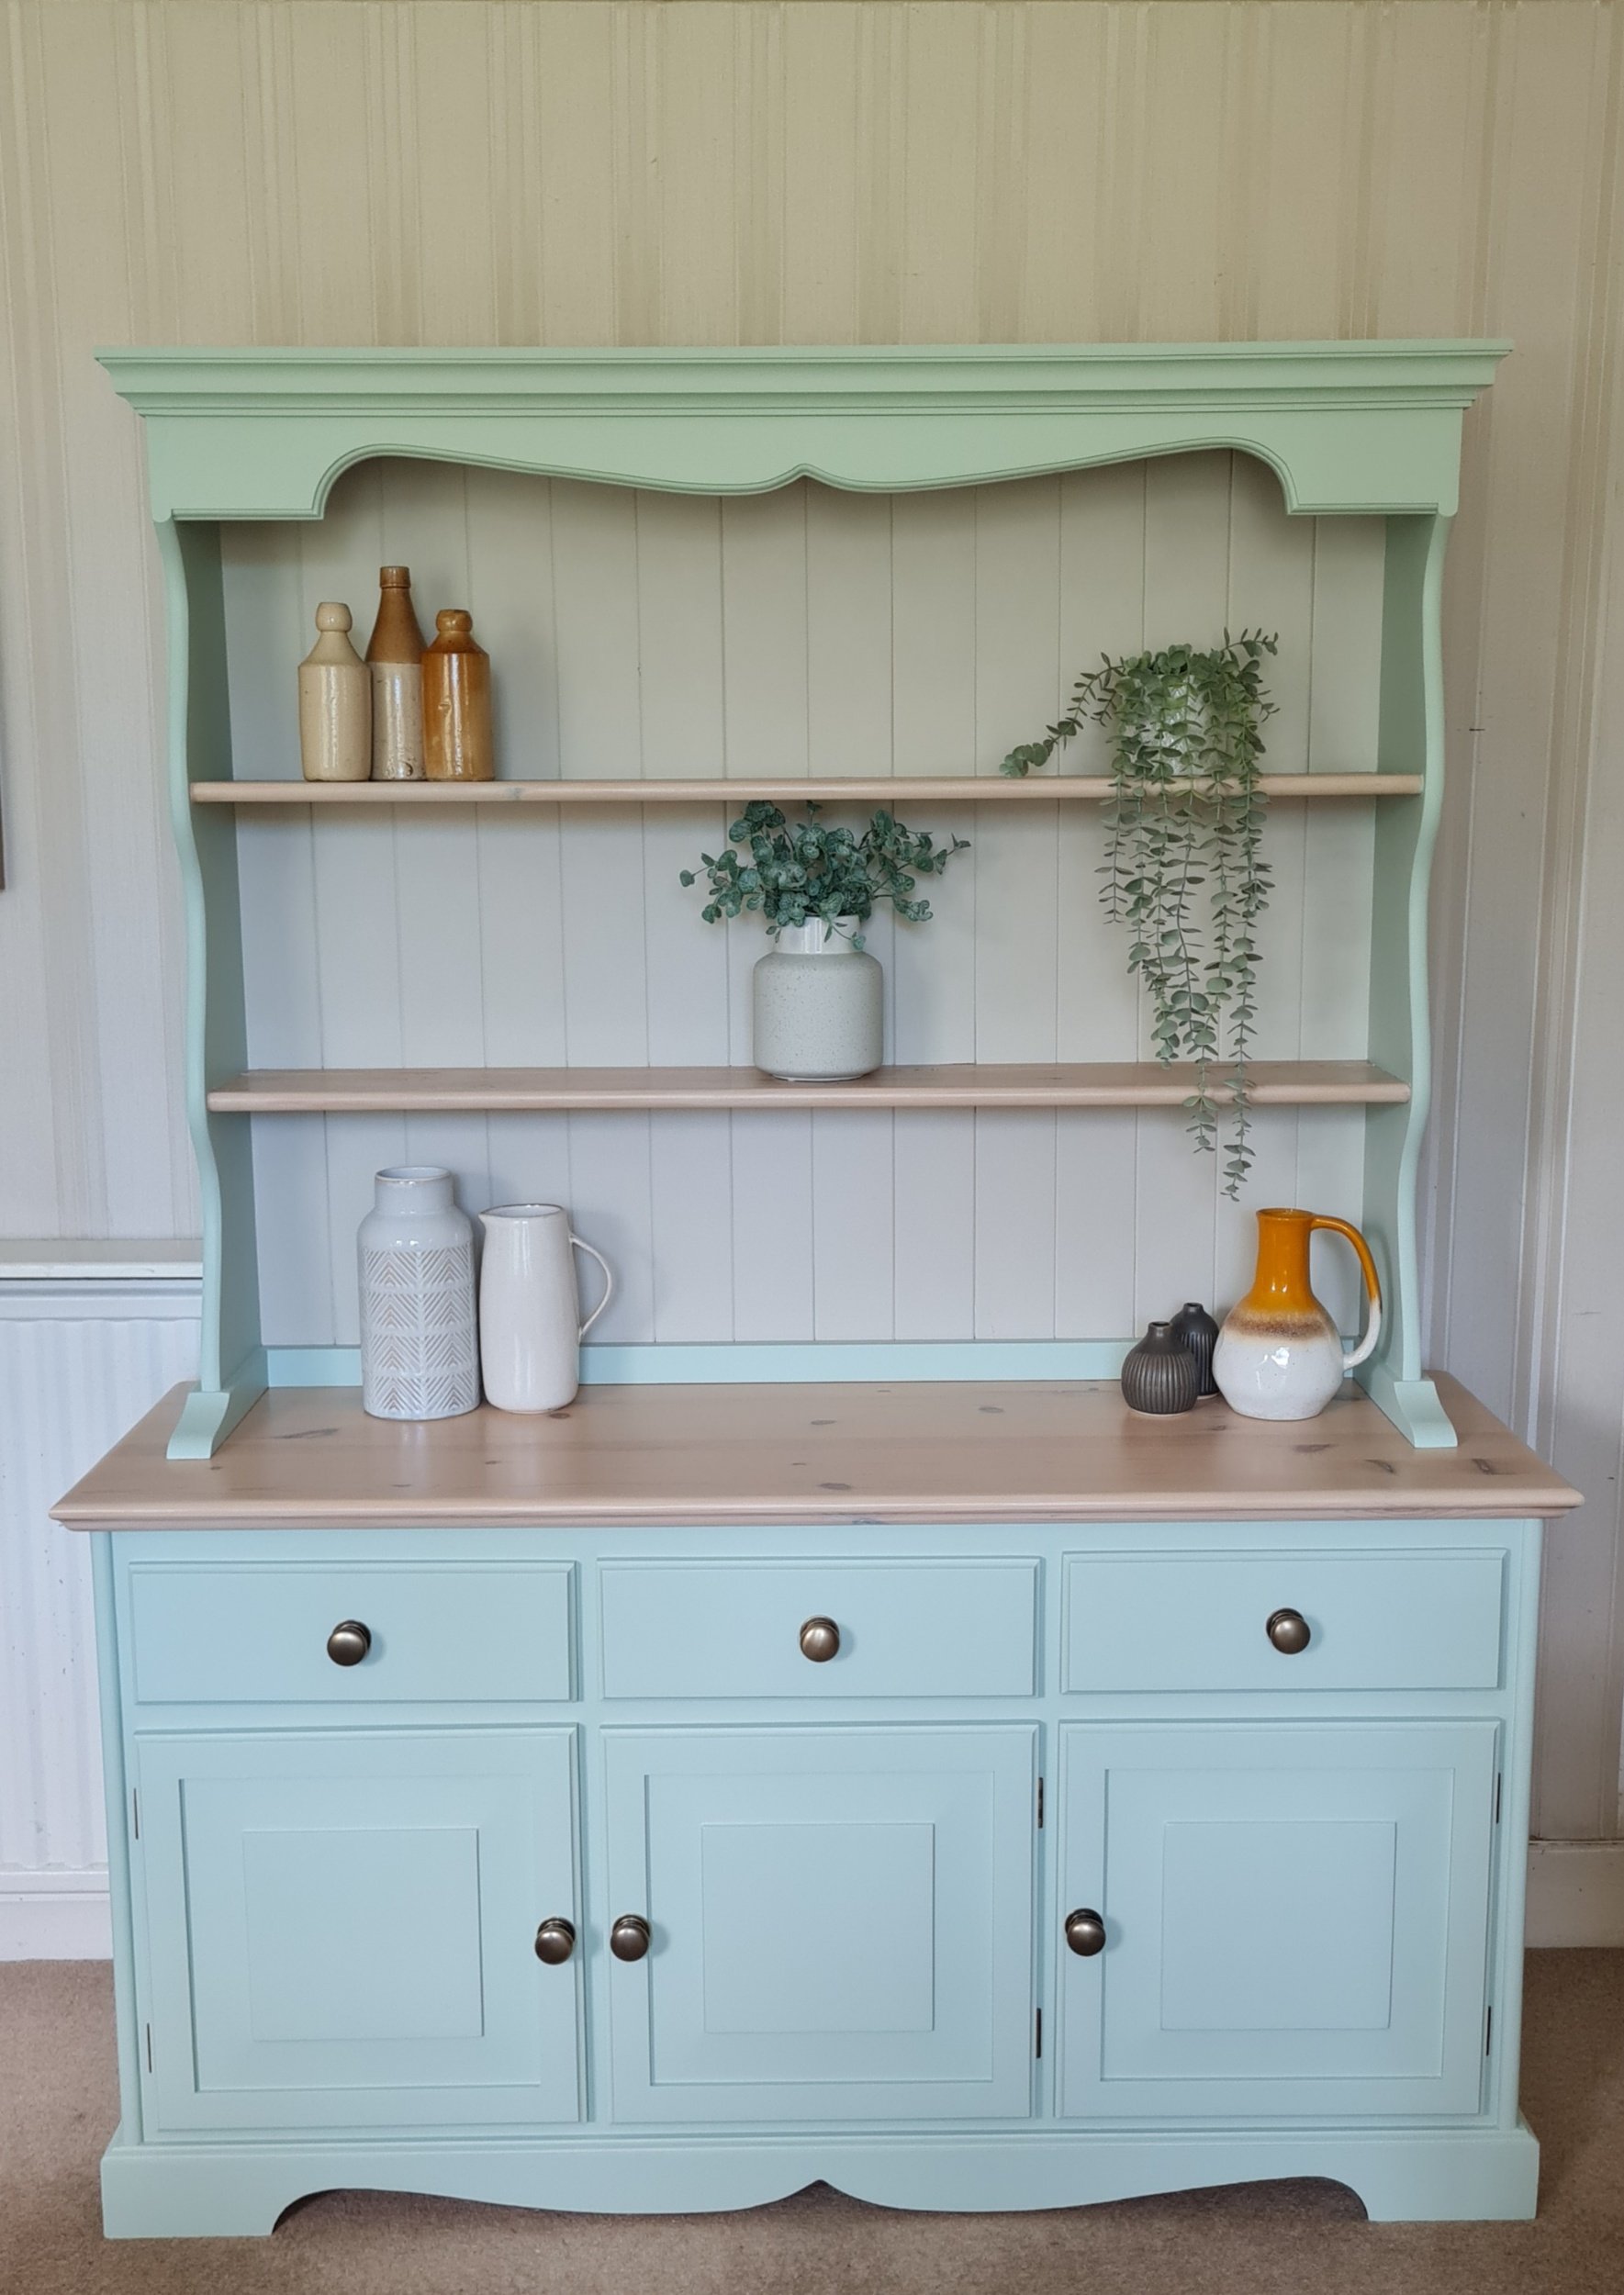
The first is a pine dresser which we painted in the gorgeous Farrow & Ball ‘Teresa’s Green’, a mid aqua greeny-blue colour and then used a variety of stains to give the wooden surfaces a taupe tone which almost looked like marble.
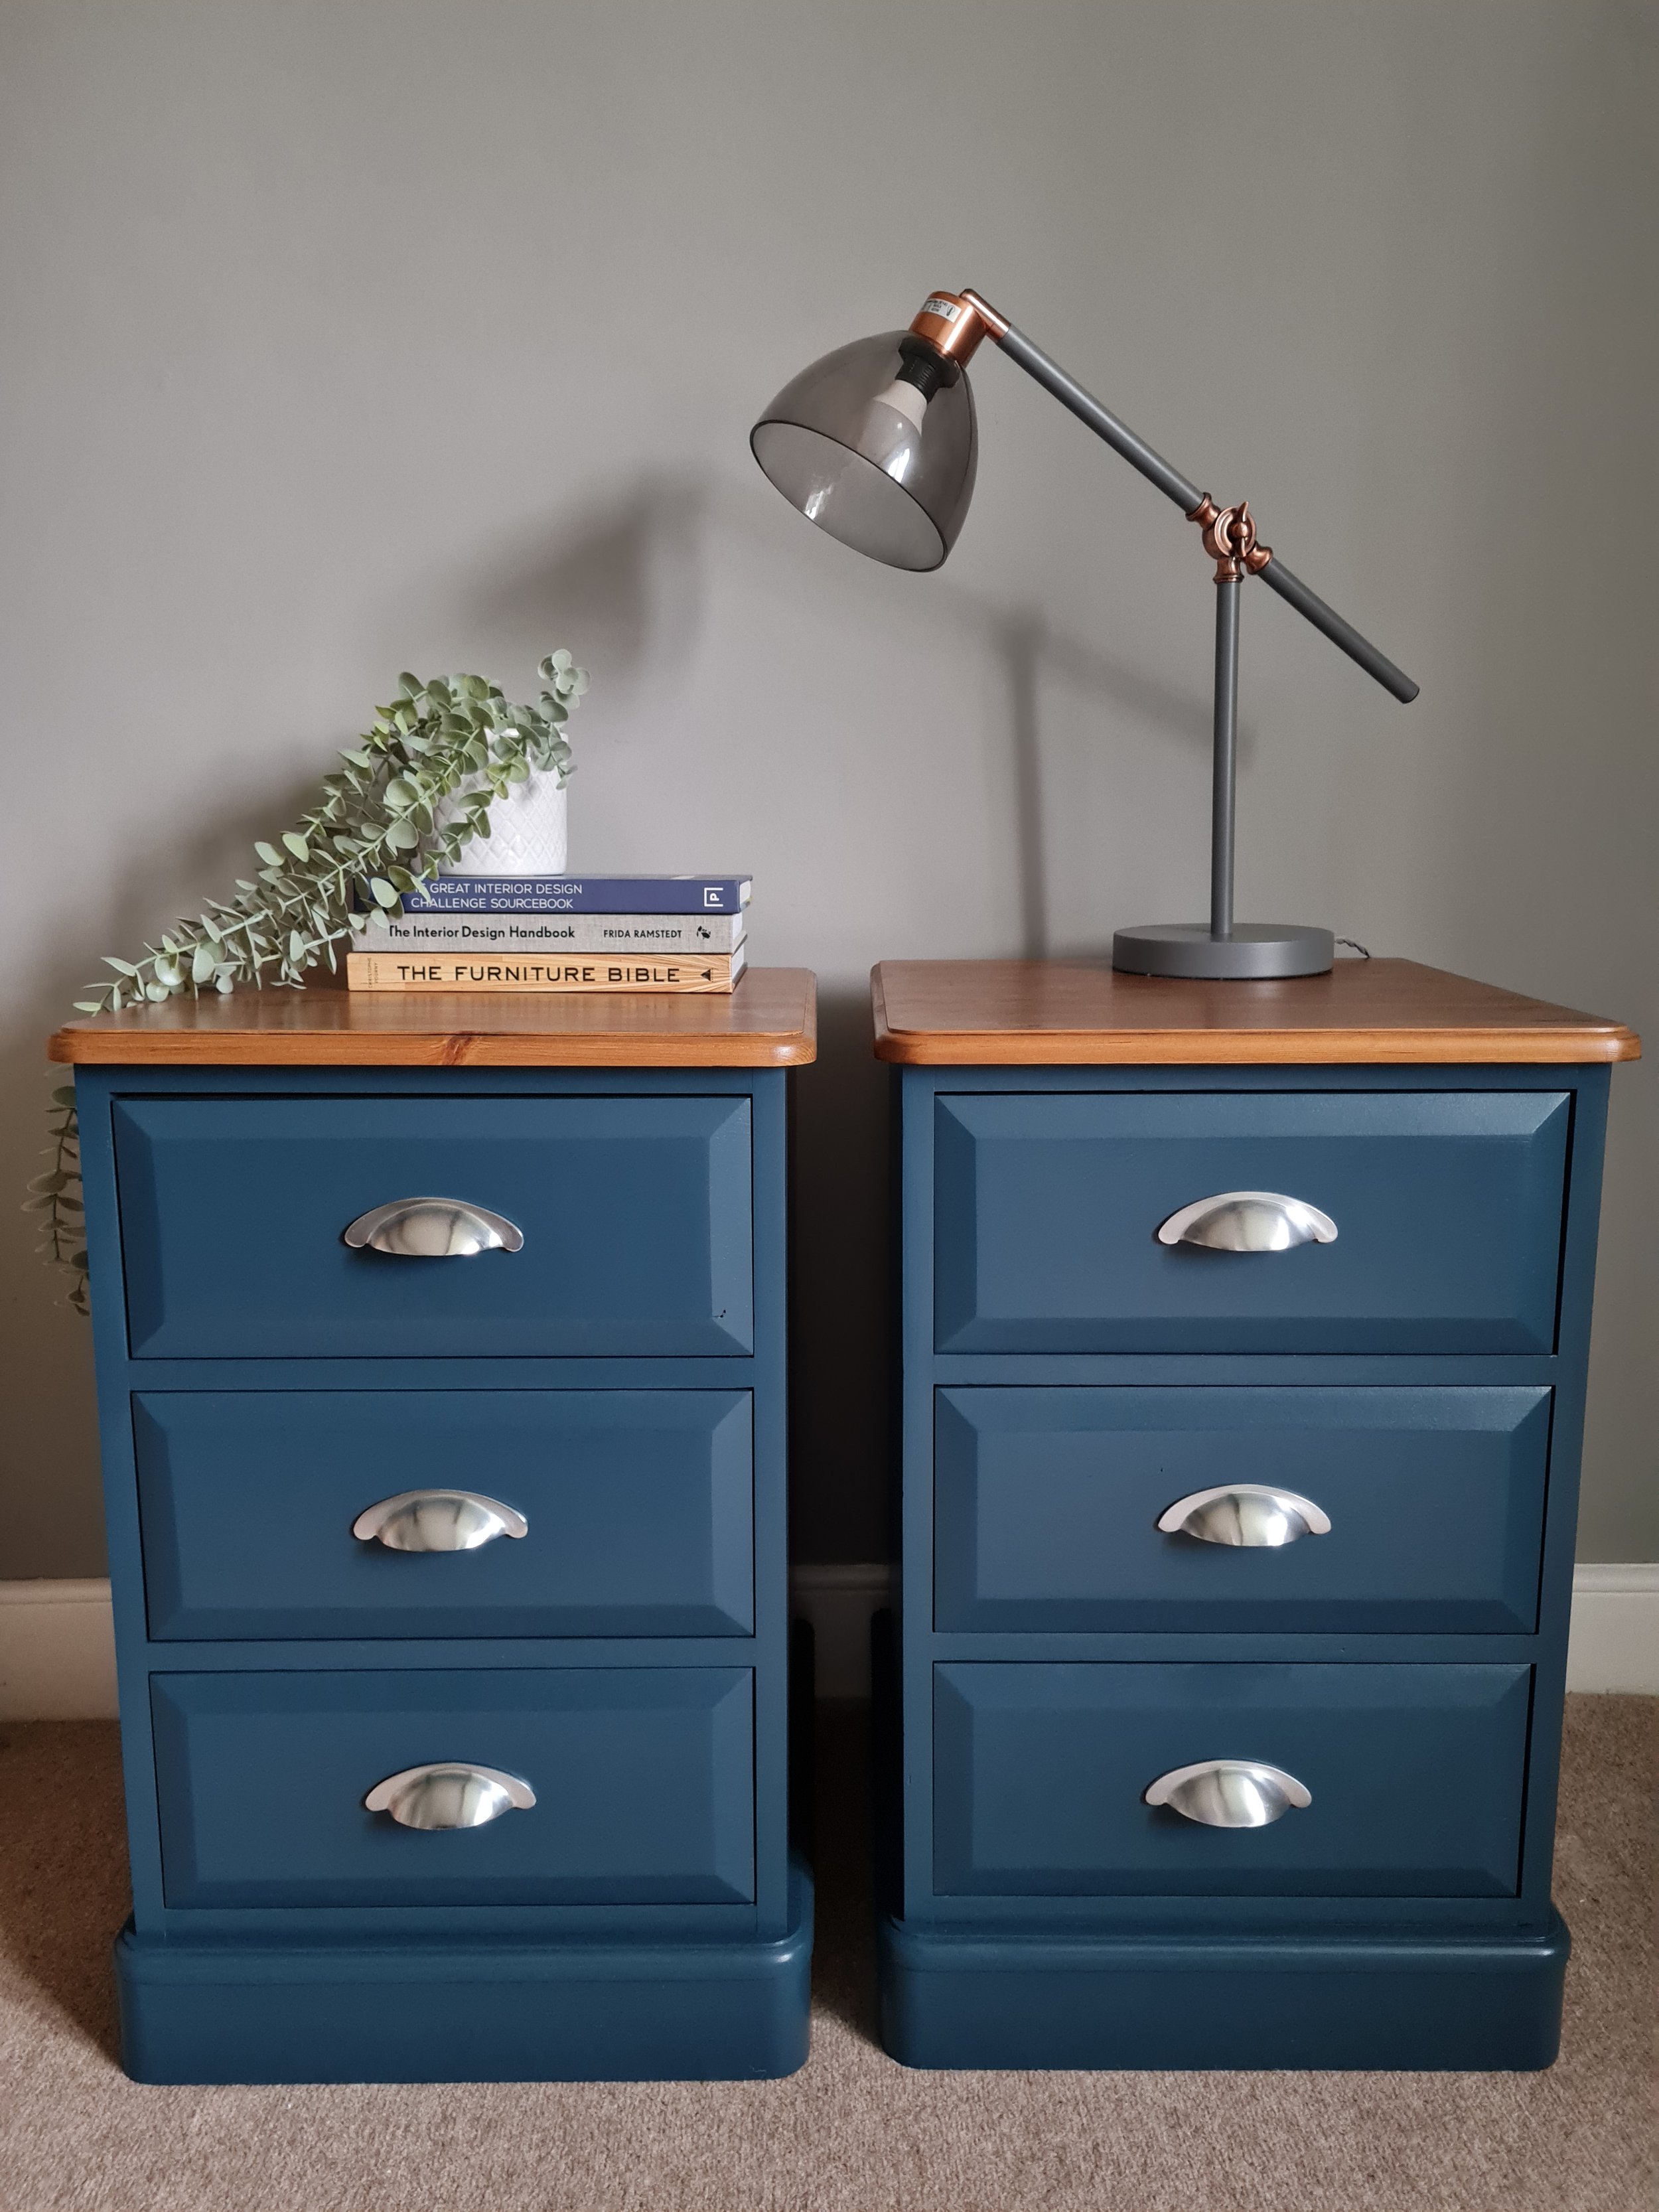
The second photo is of the two pine low chest of drawers - they look beautiful now in the after photos - also painted in Farrow & Ball ‘Teresa’s green’ with stunning new antique brass hardware.
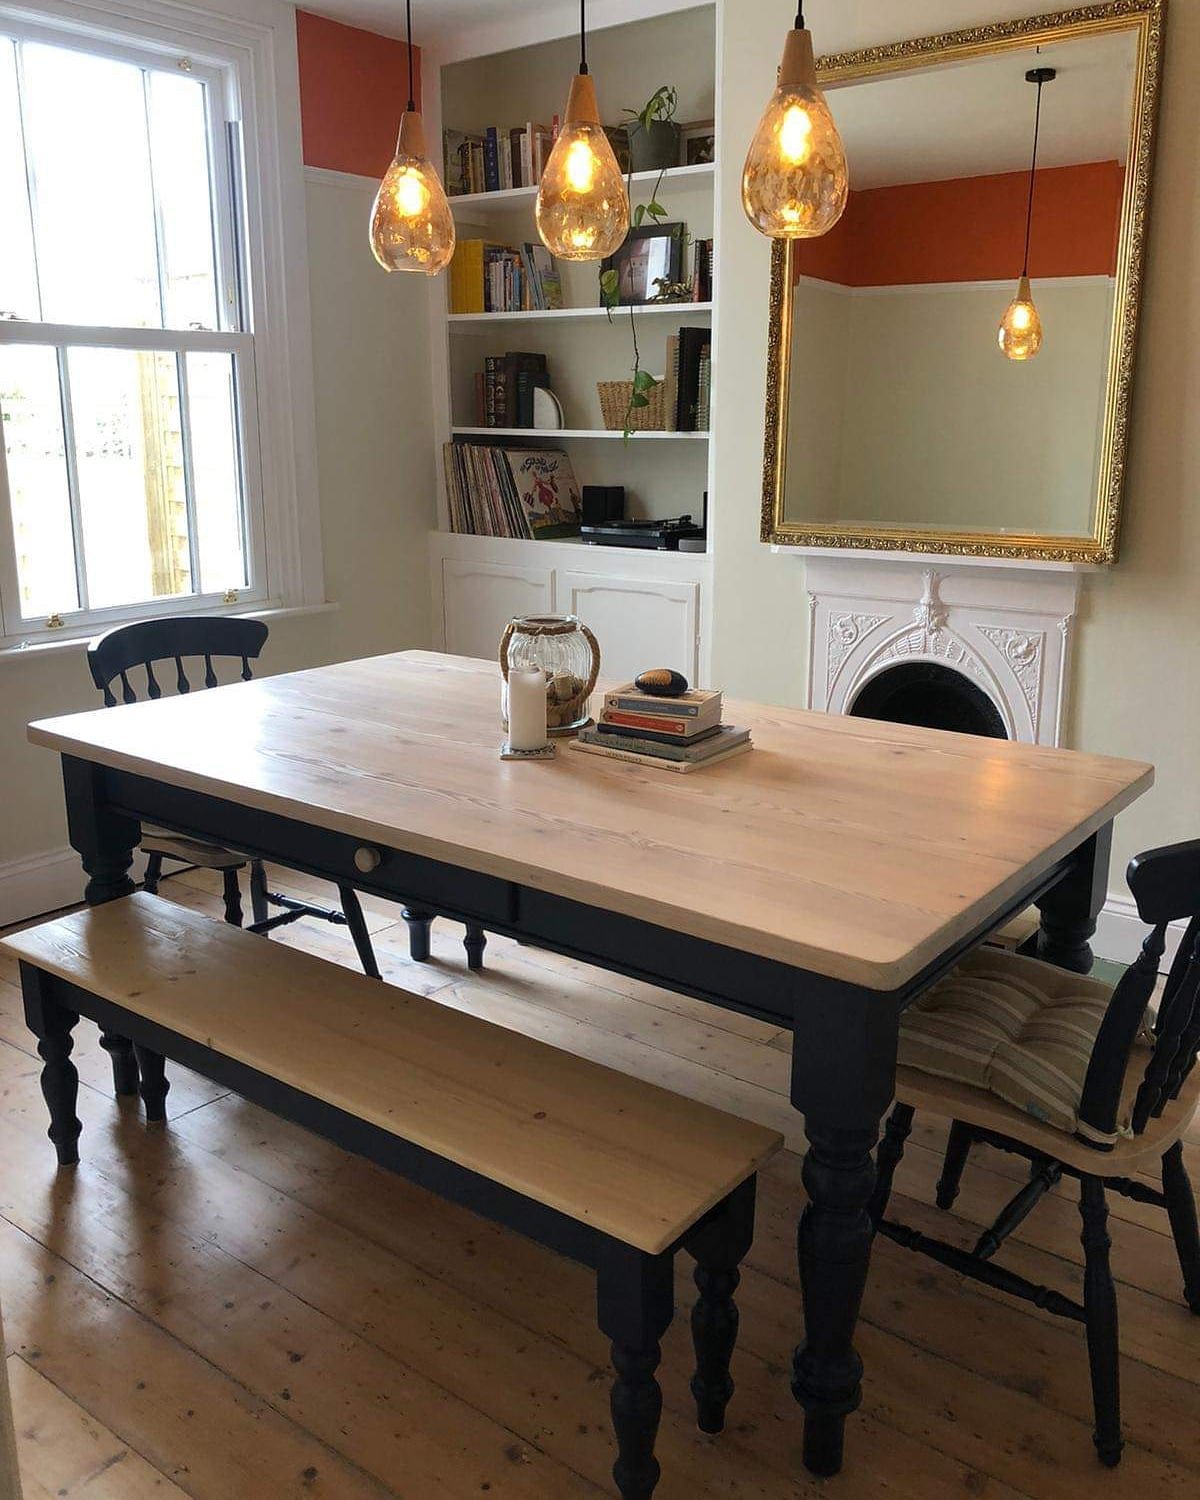
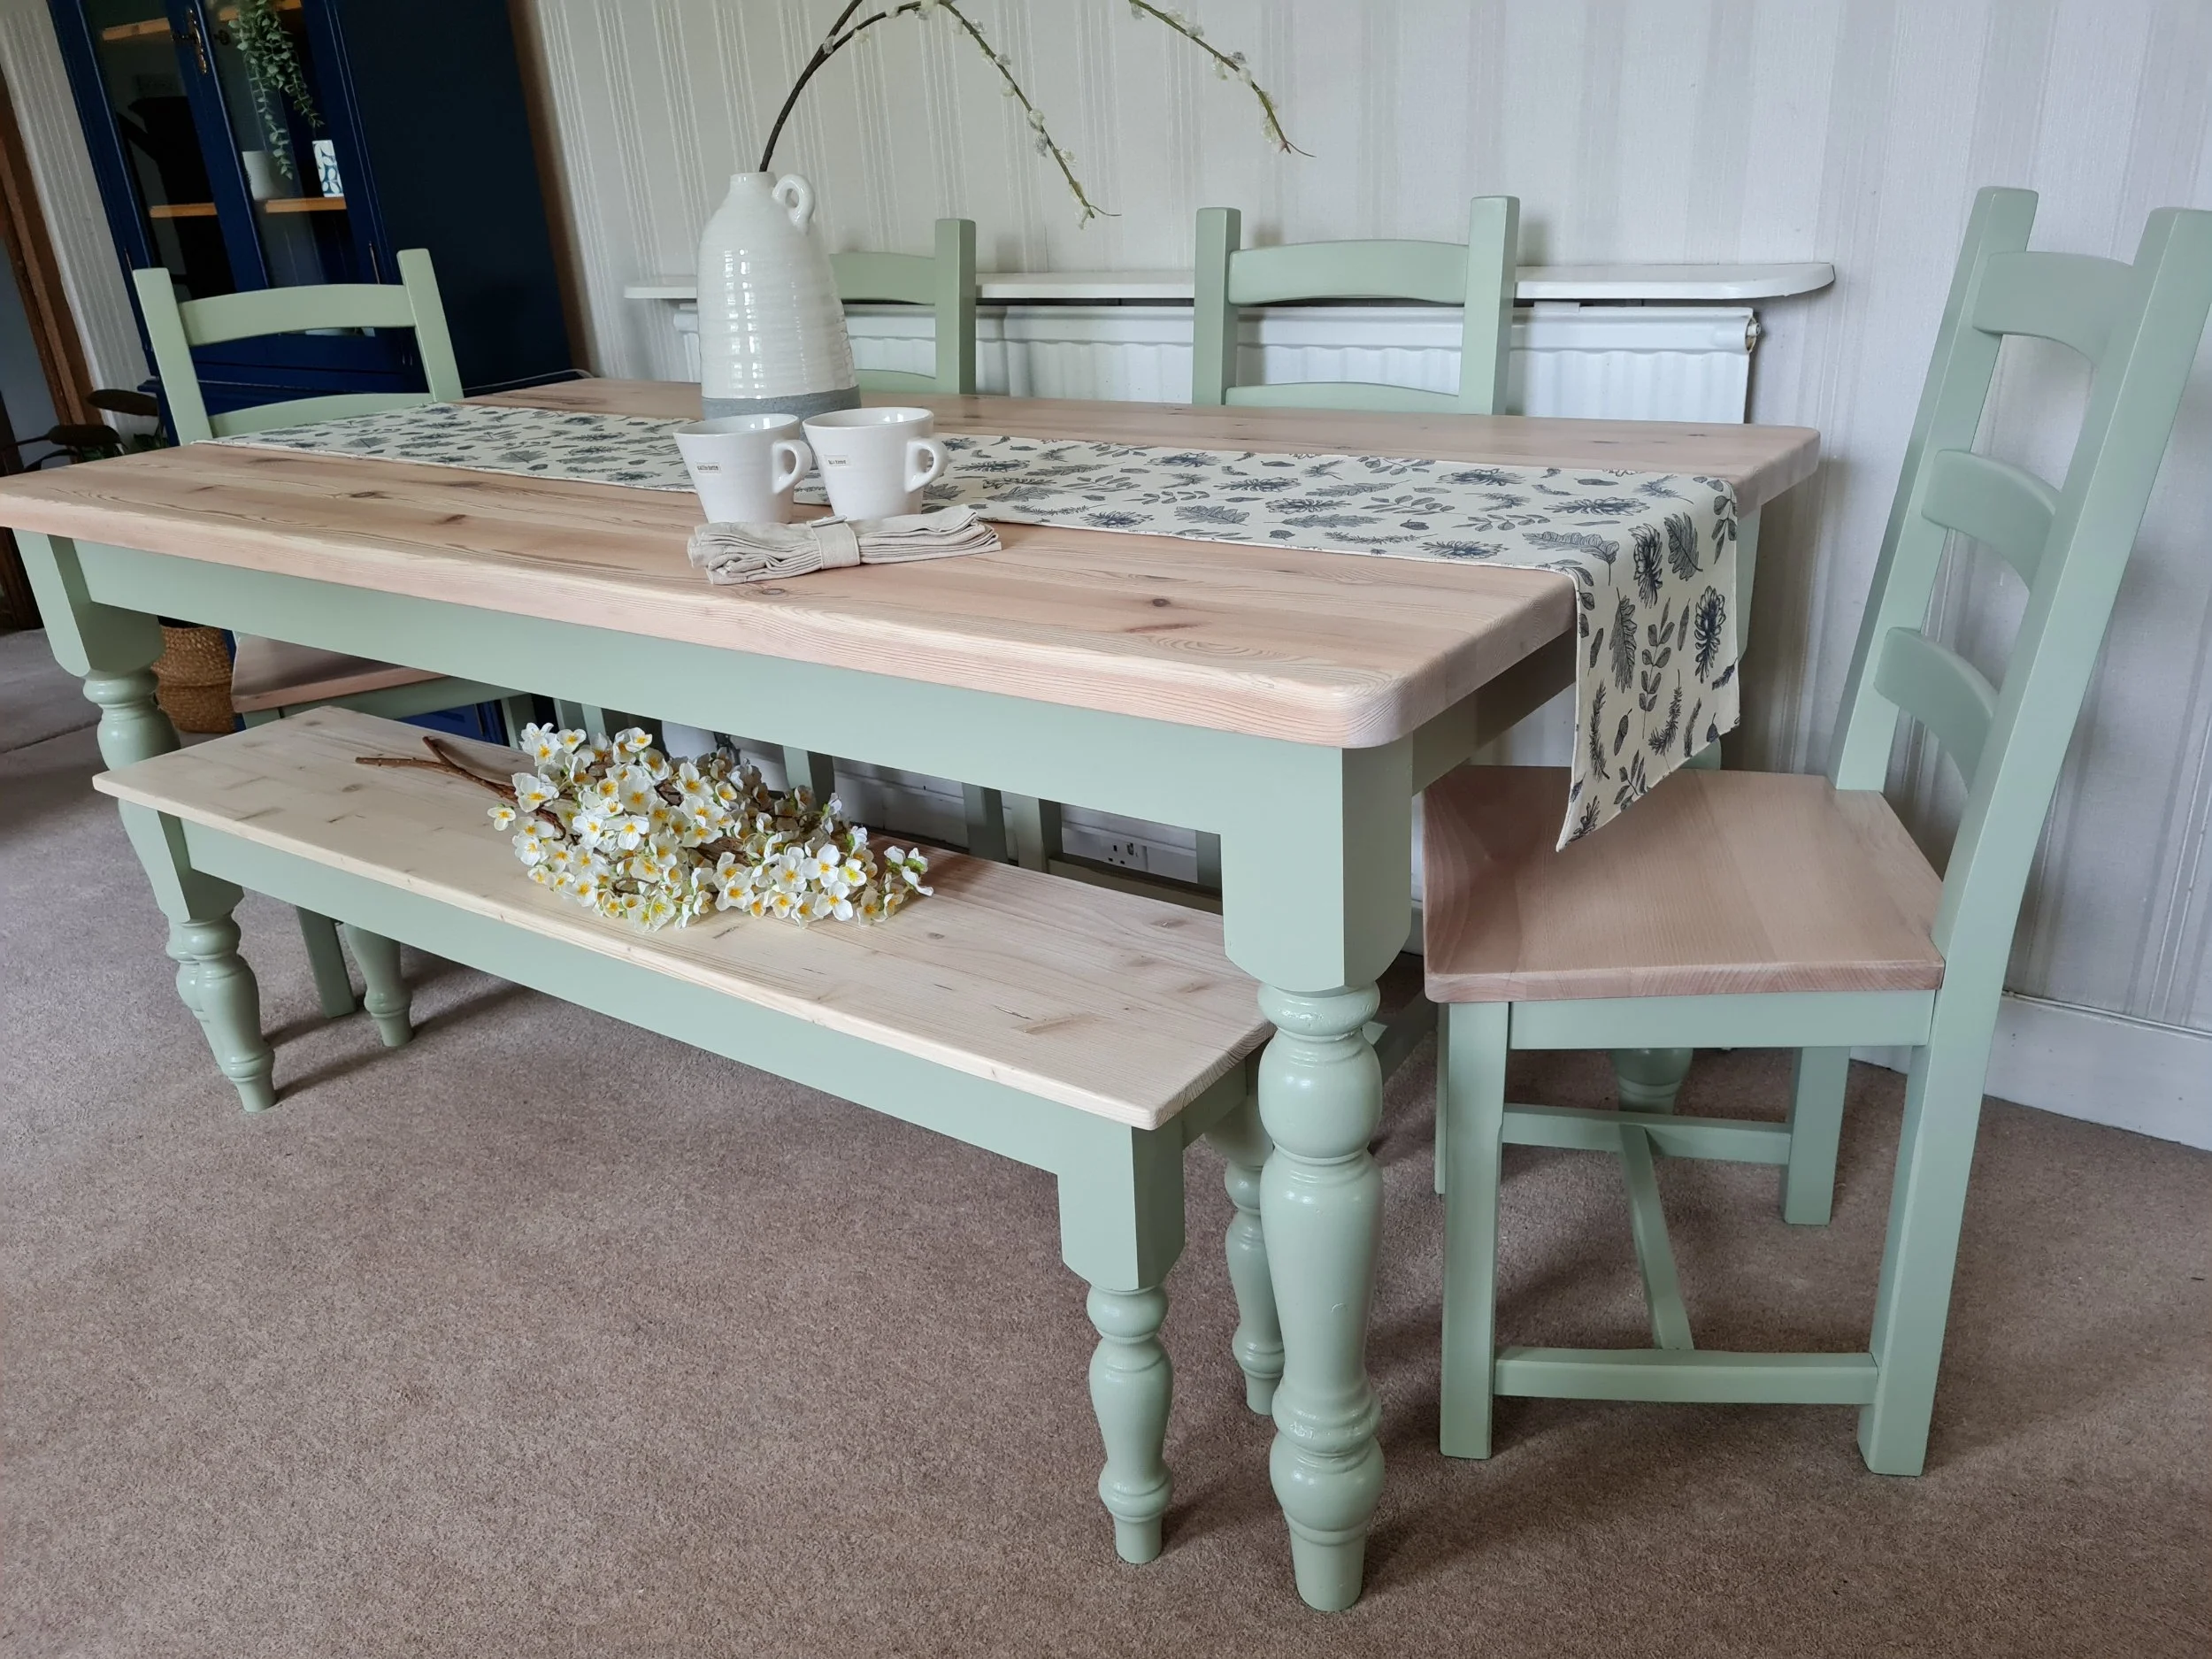
The third photo shows the newly upcycled pine table and chairs - painted in the same colour with a stained wooden top to match the dresser.
My client was overjoyed with the transformations and how much lighter and more contemporary her room felt with her upcycled pine furniture. It all just blended harmoniously with her cottage and gave it a much lighter, more airy feel.


Step 4: Adding the Finishing Touches
Once your piece is painted or stained or you have used a paint wash, it’s time to protect your work with a topcoat. For a matt, natural look, you could use a clear wax, which adds depth and texture without a shiny finish. The main drawback with this type of finish is durability and on-going maintenance. Wax isn’t as durable as a varnish and does need topping up regularly. I don’t tend to use wax as a topcoat on my furniture unless my client has expressly asked for it, for this reason. When you consider the use a pine dining table will get for family meals etc and that it is already a soft wood, I would prefer to use a satin or matte varnish, which will provide durability and make your furniture more resistant to everyday wear and tear. You want it to look stunning, but also be able to stand up to family life!
Lastly, consider updating the hardware as I have in the examples above. Brass, ceramic, or vintage-style knobs can instantly elevate the piece and tie it into your space’s overall aesthetic.
Here are a few more Before & After’s and transformation photos of pine pieces of furniture I have upcycled to hopefully give you ideas and inspiration of what you can do to update your old pine furniture. These all started out in their previous life as dated or orange pine!


How I Can Help You Upcycle Your Pine Furniture
If all this sounds like a bit more than you’d like to tackle on your own, I’m here to help! I specialize in transforming old, tired furniture into bespoke pieces that suit your home and taste. Whether you want something soft and romantic or classic and understated, I can work with you to bring your vision to life. Simply contact me with details of your pine furniture, and we’ll discuss the possibilities.
Conclusion
Upcycling your old orange pine furniture is a fantastic way to update your space without splurging on new pieces. With the right techniques and some thoughtful design choices, you can transform even the most dated pieces into beautiful, elegant additions to your home. So, if you’ve been wondering, “How can I update my old pine furniture?”, now you have the answer! And if you’d like help along the way, I’d be delighted to help you with your project.
Feel free to reach out for a consultation or to see more of my before-and-after transformations!